Did you know that checking your dog’s ears should be a part of their weekly healthcare routine? Here are our top tips to conduct a simple ear check and to clean your dog's ears when necessary.
Why you should check your dog's ears
Weekly ear checks are essential for preventing infections and other issues that can arise in your dog’s ears. During these checks, you can spot any signs of infection (redness, swelling or foul odour), ear mites or unusual buildup of wax, which will help you determine if an ear cleaning is necessary.
Most dogs only need an occasional cleaning but those who have floppy ears, swim a lot or suffer from skin allergies might need their ears cleaned more often.
If you're unsure of how to best clean your dog's ears, here's a simple routine to follow.
How to clean your dog's ears
Step 1: Getting your dog ready
First, make sure that you have everything you need:
- Damp cotton wool or soft gauze
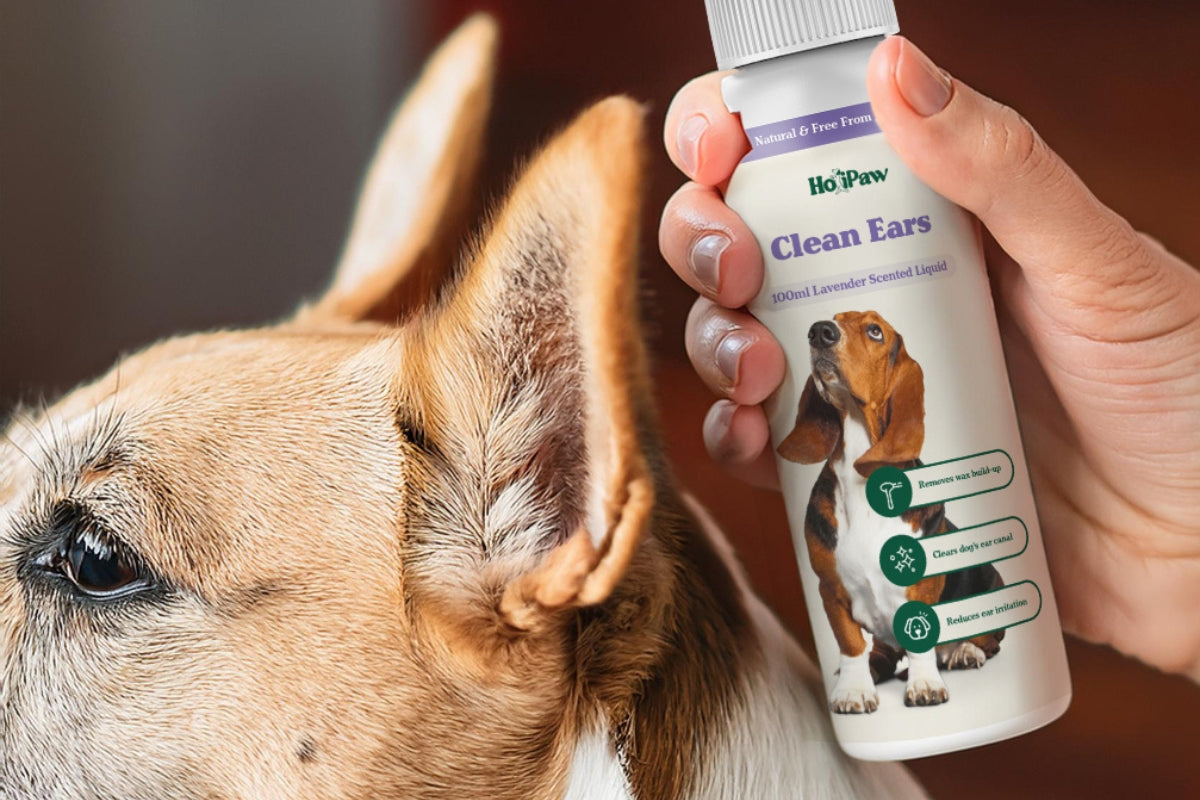
- Vet-approved ear cleaner: Clean Ears Liquid
- Ear drops (if your vet has recommended them)
If your dog is small, put them on your lap. For larger dogs, it might be easier to proceed on the floor and to have someone else ready to help if your pooch can't stay still.
Step 2: Check your dog's ears
Lift your dog’s ear to inspect the inner canal. Light brown wax is normal. However, if you notice redness, dark discharge or an unpleasant smell, it’s time to visit the vet for a potential ear infection.
Step 3: Remove any dirt or wax
If everything seems normal, proceed by gently wiping your dog's ear with a damp cotton wool. It will remove dirt and wax that are at the entrance of the ear canal.
Step 4: Apply vet-approved ear cleaner
Insert the applicator tip of the HoliPaw Clean Ears Liquid into the ear canal (without pushing it in too deep). Squeeze the bottle to let the product go into the ear then massage the base of the ear to help spread the cleaner.
HoliPaw Clean Ears Liquid is ideal as a pre-cleaner to antibiotics as it will break up wax and debris to allow antibiotics to penetrate to deeper parts of the ear.
Step 5: Wipe away excess solution
Use a damp cotton wool ball to wipe away any excess cleaner, making sure to leave the ear clean and refreshed.
Step 6: Apply ear drops (if recommended)
If your vet has prescribed ear drops, apply them after cleaning to ensure they can properly reach the ear canal.
Step 7: Repeat for the other ear
Repeat the same process for the other ear, ensuring both ears are clean and free from excess wax and debris. Don’t forget to wash your hands after.
If you find it difficult to clean your dog’s ears or if your dog shows signs of severe discomfort, it’s always best to consult your vet. Some dogs may have deeper infections or underlying conditions that require professional care.

Leave a comment
This site is protected by hCaptcha and the hCaptcha Privacy Policy and Terms of Service apply.